Retro Games · available now
Retro Backgammon
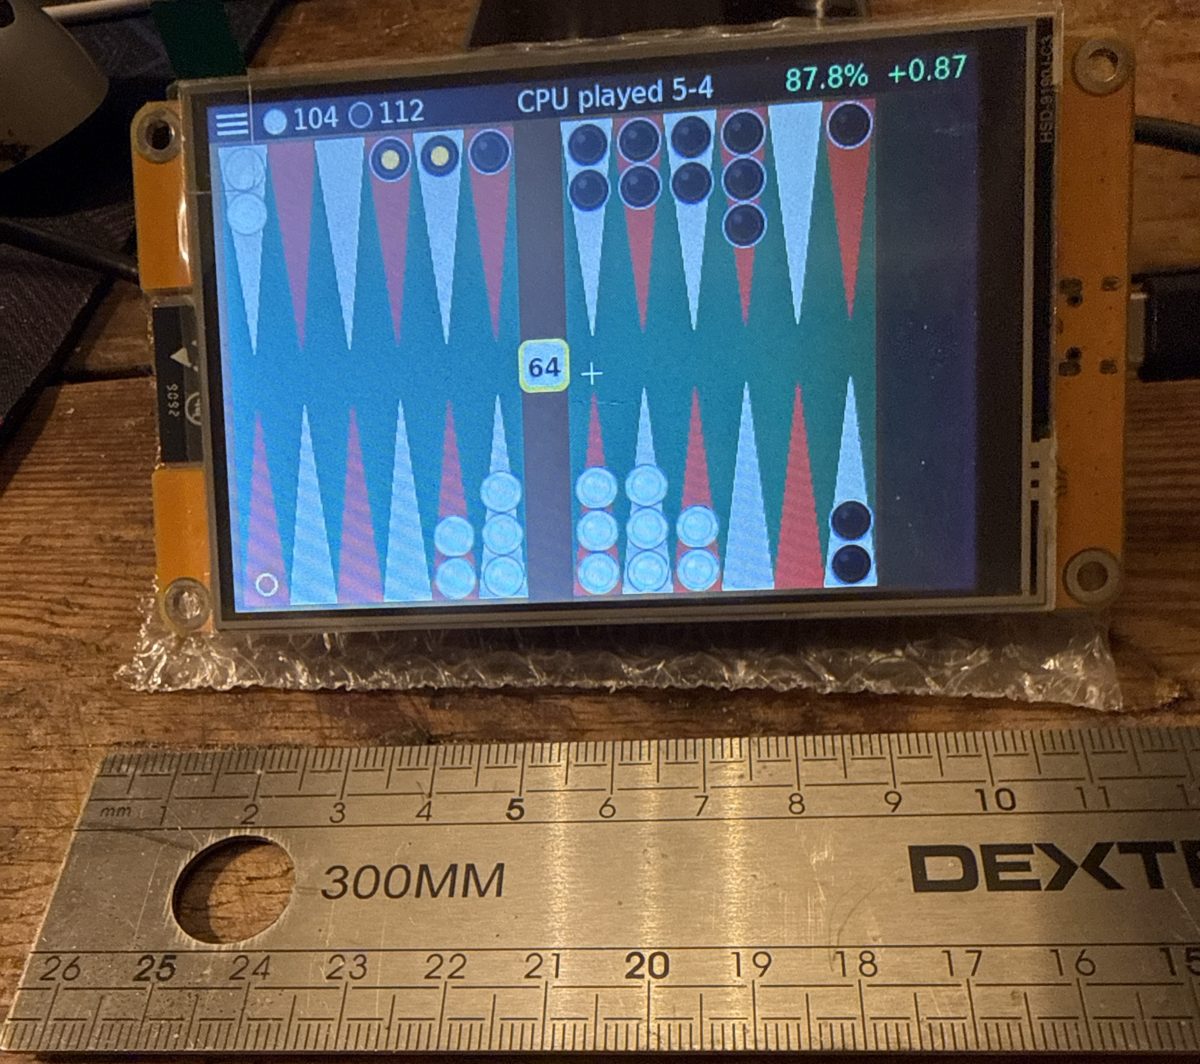
The neural network from Backgammon-NN — the engine that taught itself to play, then learned from GNU Backgammon — running entirely on a 4-inch colour touch-screen board that costs about €23. No PC, no phone, no Wi-Fi: it weighs up every legal move with the full network and replies in about a tenth of a second.
Project name on GitHub: Backgammon-NN-esp32.
Play it by touch
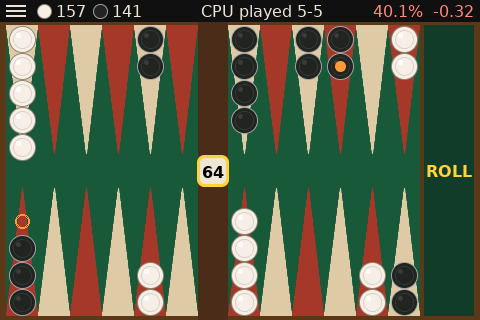
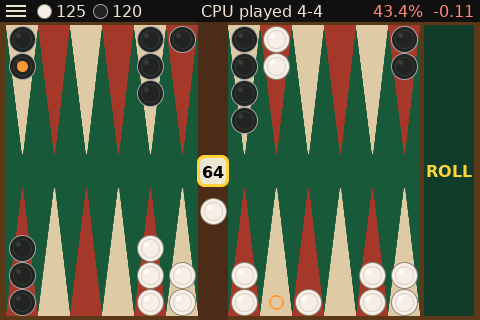
- Tap to move: the checkers you can move are marked, and so is every point they can reach — with one die or several.
- Moving graphics: the dice tumble, checkers slide, and a hit blot flies to the bar.
- The doubling cube: double the engine and it takes or drops — or it doubles you, and shows your chances before you decide.
- Hints for both moves and cube decisions, from the same network.
- Undo one checker or the whole turn — even back past the engine's reply.
- Resign a single, gammon or backgammon; the engine accepts only if it doesn't expect to do better by playing on — and it resigns when it's hopeless.
- Claim a win the same way: the engine concedes only what you'd expect to win anyway. Refuse either way and it says why, with a counter-offer.
- A running score across games.
What you need
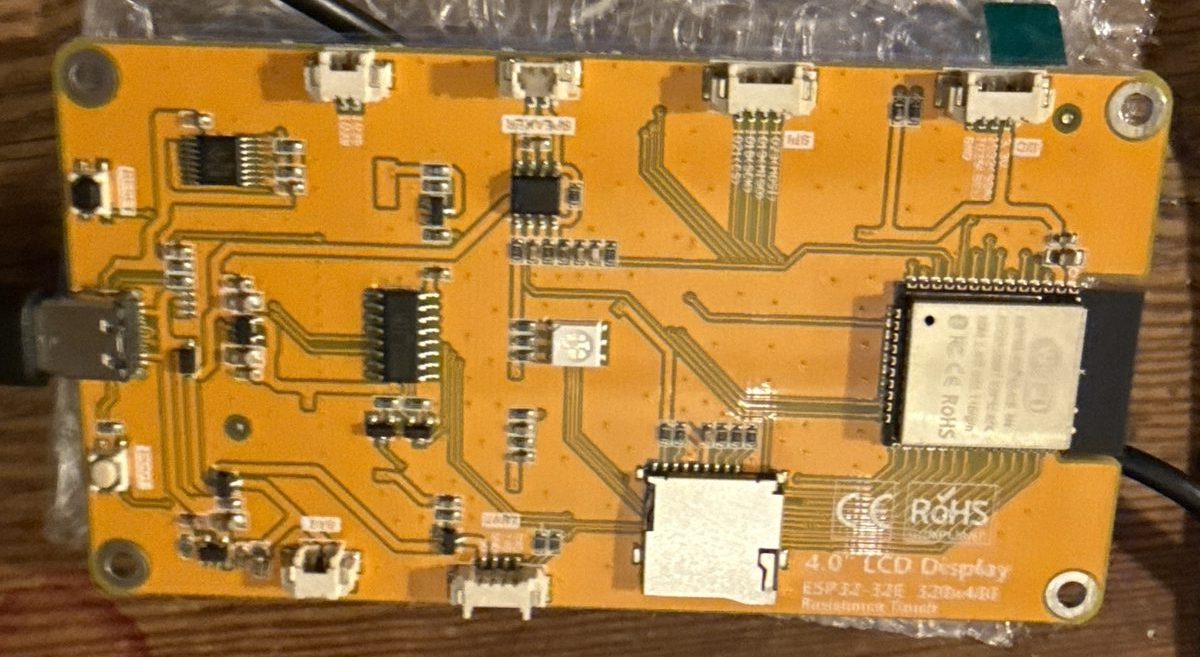
One board: the 4.0-inch ESP32-32E display (model E32R40T, often sold under the Hosyond name) — an ESP32 with a 480 × 320 colour touch screen built in, for about €23. That's all the electronics there is: a 32-bit processor at 240 MHz, 520 KB of RAM and 4 MB of flash, holding the whole game and its neural network.
Or, for a bigger board: the Waveshare ESP32-S3-Touch-LCD-7 — a 7-inch, 800 × 480 capacitive touch screen on a faster ESP32-S3 with 8 MB of extra memory. The same game, scaled up, with no touch calibration needed.
You also need a USB cable to load the game from a PC. After that it runs from a USB power bank or any phone charger.
How to install
The easy way: straight from this page
- Use Chrome or Edge on a PC or Mac (they can talk to USB devices; Firefox and Safari can't).
- Plug the board into the computer with a USB cable.
- Press Install, pick the board's port from the list, and confirm. It takes about a minute.
The same button works for both boards: it recognises which one is plugged in and installs the right version.
4-inch board: the first time it starts, touch the four corners when asked, to calibrate the screen. Then roll the dice. If the board doesn't appear in the port list on Windows, install the CH340 USB driver (the board's USB chip) and try again.
7-inch board: plug into the socket marked USB (the one marked UART can't install). If no port appears, hold the BOOT button while plugging in, and unplug and replug the board once it's installed. No calibration needed.
Or download the firmware file
One file per board, written at address 0 with any ESP32 flashing tool — latest release on GitHub. With esptool:
esptool.py --chip esp32 write_flash 0x0 retro-backgammon-1.0.4-e32r40t.bin     # 4-inch
esptool.py --chip esp32s3 write_flash 0x0 retro-backgammon-1.0.4-ws7.bin       # 7-inch
Or build it yourself
The source is on GitHub. With PlatformIO installed, run this in the project folder with the board plugged in:
pio run -e e32r40t -t upload     # 4-inch
pio run -e ws7 -t upload         # 7-inch
The README on GitHub has the full rules of play: every button, the cube and the menu.